
| Wavelet Toolbox |   |
Image Fusion Using the Graphical Interface
to display the Wavelet Toolbox Main Menu and then click the Image Fusion menu item to display the Image Fusion Tool.
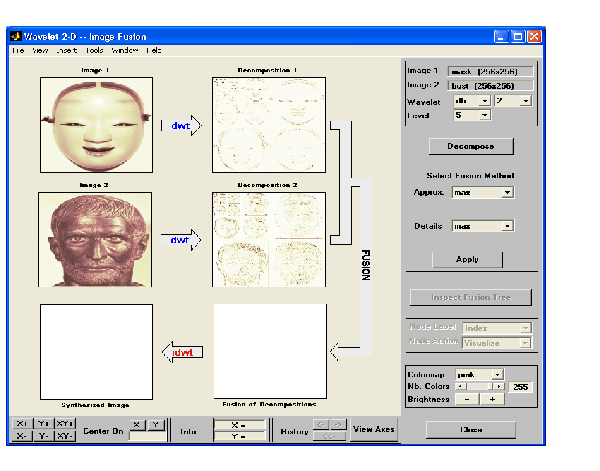
When the Load Image 1 dialog box appears, select the demo MAT-file mask.mat, which should reside in the MATLAB directory toolbox/wavelet/wavedemo. Click the OK button.
Perform the same sequence choosing the Load Image 2 option and selecting the demo MAT-file bust.mat.
For this analysis, select the db2 wavelet at level 5.
After a pause for computation, the tool displays the two analyses.


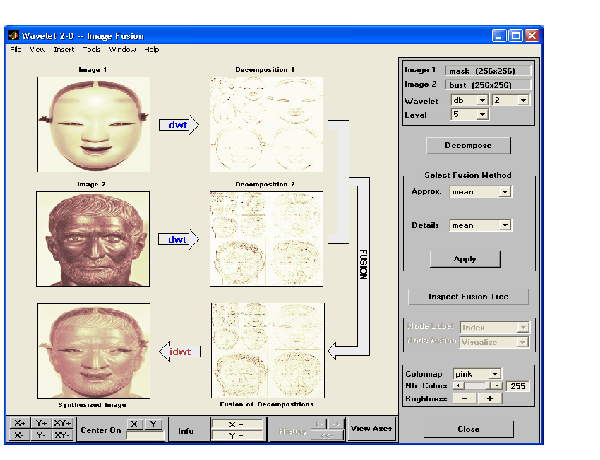
The synthesized image and its decomposition (which is equal to the fusion of the two decompositions) appear. The new image produced by fusion clearly exhibits features from the two original ones.
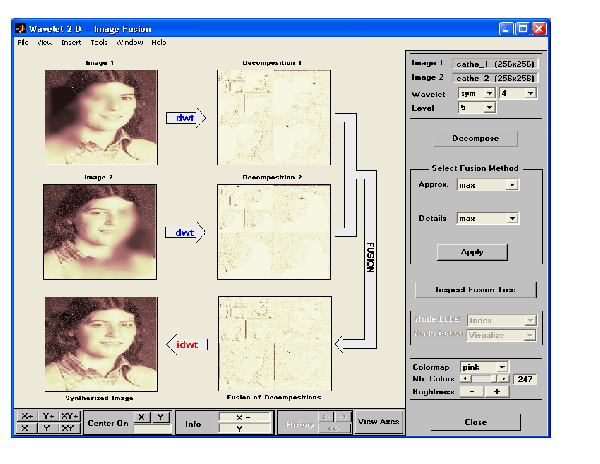
Let us now examine another example illustrating restoration using image fusion.

Saving the Synthesized Image
The Image Fusion Tool lets you save the synthesized image to disk. The toolbox creates a MAT-file in the current directory with a name you choose.
To save the synthesized image from the present selection, use the menu option File Save Synthesized Image.
A dialog box appears that lets you specify a directory and filename for storing the image. After you save the image data to the file rescathe.mat, the synthesized image is given by X and the colormap by map.
 | Image Fusion Using the Command Line | One-Dimensional Fractional Brownian Motion Synthesis |  |
© 1994-2005 The MathWorks, Inc.