
| Wavelet Toolbox |   |
Two-Dimensional Analysis Using the Graphical Interface
In this section we explore the same image as in the previous section, but we use the graphical interface tools to analyze the image.
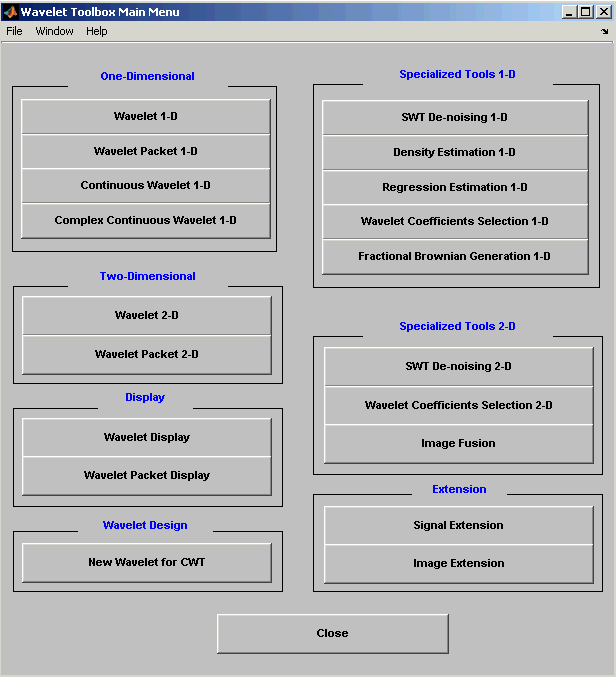
The Wavelet Tool Main Menu appears.

Click the Wavelet 2-D menu item. The discrete wavelet analysis tool for two-dimensional image data appears.
 Image option.
When the Load Image dialog box appears, select the demo MAT-file wbarb.mat, which should reside in the MATLAB directory toolbox/wavelet/wavedemo. Click the OK button.
For this analysis, select the bior3.7 wavelet at level 2.
Click the Analyze button. After a pause for computation, the Wavelet 2-D tool displays its analysis.
Click on any decomposition component in the lower right window.
A green border highlights the selected component. At the lower right of the Wavelet 2-D window, there is a set of three buttons labeled "Operations on selected image." Note that if you click again on the same component, you'll deselect it and the green border disappear.
The selected image is displayed in the visualization area. You are seeing the raw, unreconstructed two-dimensional wavelet coefficients. Using the other buttons, you can display the reconstructed version of the selected image component, or you can view the selected component at full screen resolution.

Click the XY+ button (located at the bottom of the screen) to zoom horizontally and vertically.
The Wavelet 2-D tool enlarges the displayed images.
To zoom back to original magnification, click the History <<- button.
The tool automatically selects thresholding levels to provide a good initial balance between retaining the image's energy while minimizing the number of coefficients needed to represent the image.
However, you can also adjust thresholds manually using the By Level thresholding option, and then the sliders or edits corresponding to each level.
For this example, select the By Level thresholding option and select the Remove near 0 method from the Select thresholding method menu.
The following window is displayed.
Select from the direction menu whether you want to adjust thresholds for horizontal, diagonal or vertical details. To make the actual adjustments for each level, use the sliders or use the left mouse button to directly drag the yellow vertical lines.
To compress the original image, click the Compress button. After a pause for computation, the compressed image is displayed beside the original. Notice that compression eliminates almost half the coefficients, yet no detectable deterioration of the image appears.
Displayed statistics include measures of tendency (mean, mode, median) and dispersion (range, standard deviation). In addition, the tool provides frequency-distribution diagrams (histograms and cumulative histograms). The same tool exists for the Wavelet 2-D De-noising tool.
 | Two-Dimensional Analysis Using the Command Line | Importing and Exporting Information from the Graphical Interface |  |
© 1994-2005 The MathWorks, Inc.